
After we did the test polygon we started hammering poles down to hold the concrete in place, we were working under sizzling conditions, about 35 Celsius, in the shade….
We were still happy and drank plenty of water, five min later we’d swet it out again!
After that was done we laid down the armourment of the foundation.

It’s very nice to see people acting accordingly to hot weather, like splashing your self with water to cool down!

Armourment art.

Brian in a tunnel of iron!

Step one after you have measured all sides of the outer rim, is to whack wooden poles into the ground with a huge iron rod to make sure the concrete will have no chance to push the footings aside.

Step two, screw in a piece of wood in to the wooden pole that just got whacked in to place with great effort.

Finally when you have whacked all the poles of effort deep into the gravel you can start measuring the inner polygon. Use two pieces of wood that were over from when the outer rim was made. MAKE SURE YOUR STICK ARE THE RIGHT SIZE!

Measure stick in use aka. Bertil.

Sippin on dat H2O.

FRAME WORK COMPLETE!

Time to lay the armourment!

Reinforcement stirrups.
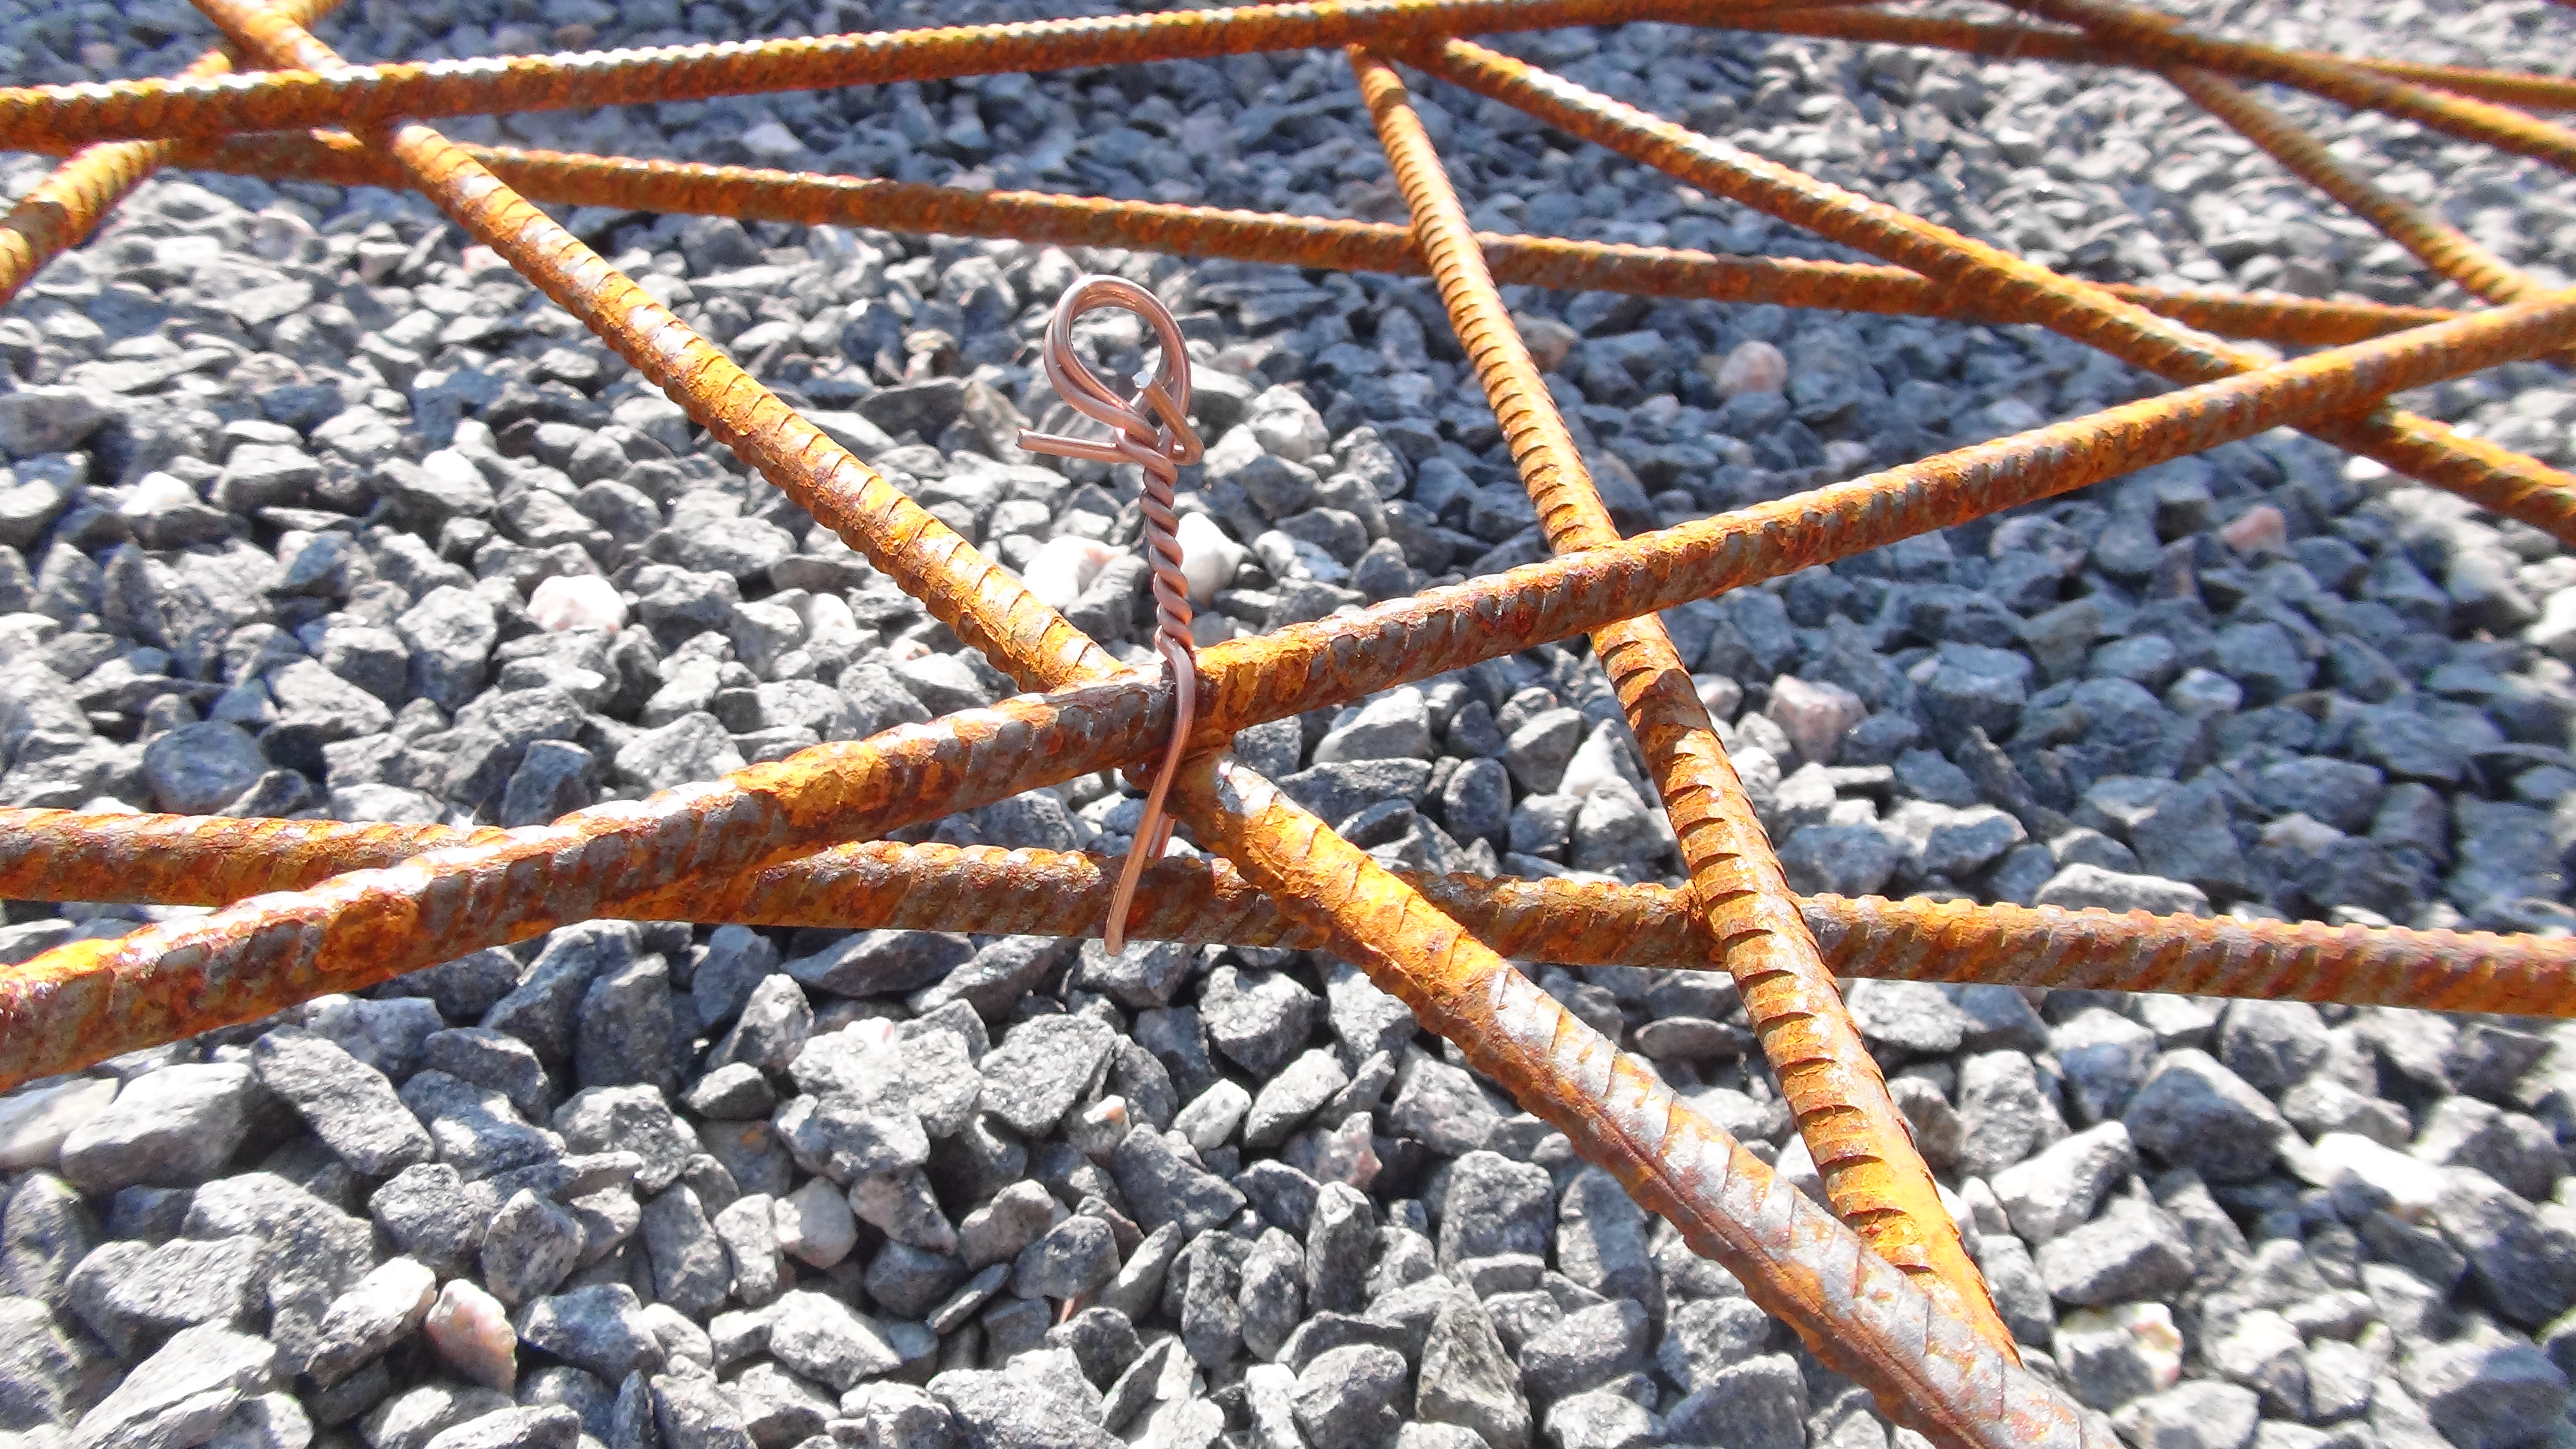
Lashing wire helps holding together the mesh, as it also holds together the mesh with the stirrups.

Little 10 cm plastic struts holds up the mesh. In the future we would like to use bio based plastic in our buildings this time around we did not have the resources. More info about this is to come.

Robert gives thumbs up on a very even mesh.

Laying out more mesh.
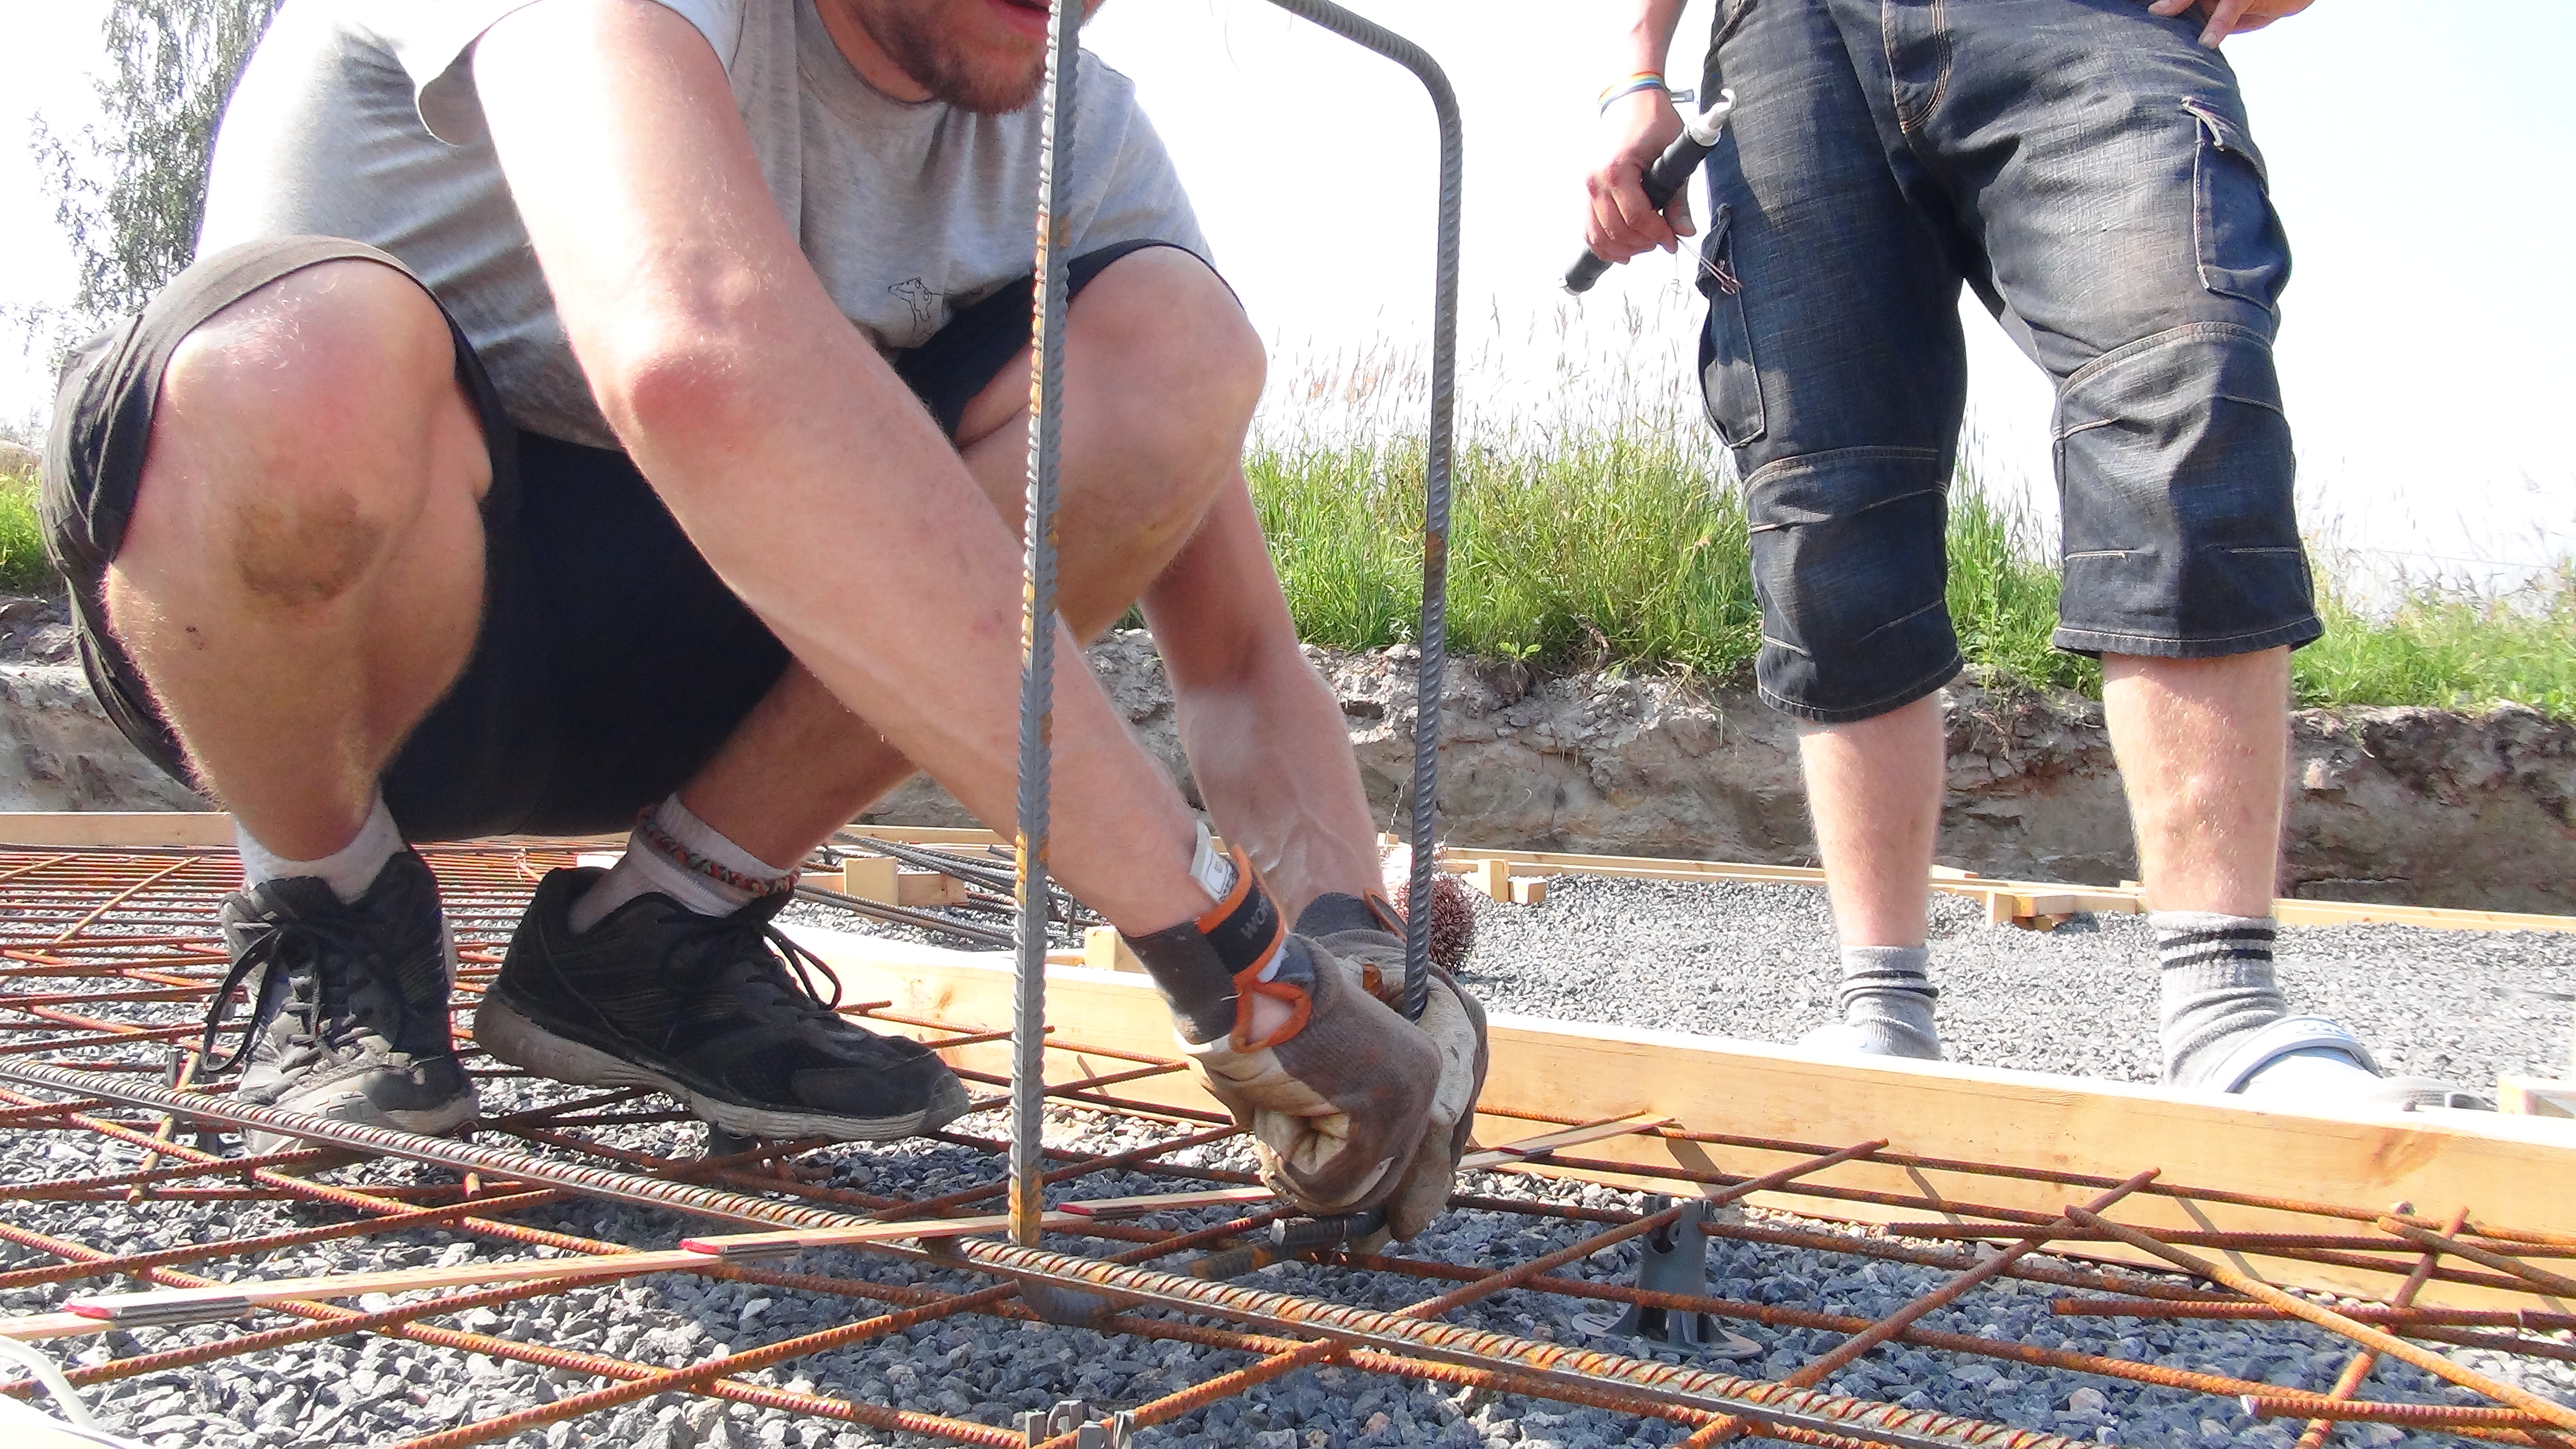
Robert instructing on how to lash together the mesh with the stirrup.


